Basics of Prepress
It is a step that ensures an excellent print output in the print world. Understanding this step in the production process is helpful for business owners, purchasing agents, marketing professionals, graphic designers, and others involved in printing and producing materials.
Prepress refers to everything that happens to make sure your print job is correctly prepared for printing. The time to catch errors is before a job prints. For trouble-free printing down the line, it is important to get your design in the best shape possible before it's uploaded. A digital prepress machine accepts information electronically and transforms the data onto a printing plate which is ultimately used to transfer your files onto paper while on press.
Using an experienced prepress team can be a significant time-saver, especially if you used a graphic designer to create artwork in the correct format. Different file sizes, output needs, and file types can all slow down the printing process, but utilizing trained prepress technicians results in efficient file output quickly and efficiently. The process begins when the customer's art is provided in digital format (e.g., Adobe Photoshop, Illustrator, InDesign, etc.) One of our highly skilled prepress technicians checks them over in a process called "pre-flighting."
 Internal Communication Website (2)")
")
Prepress Checklist
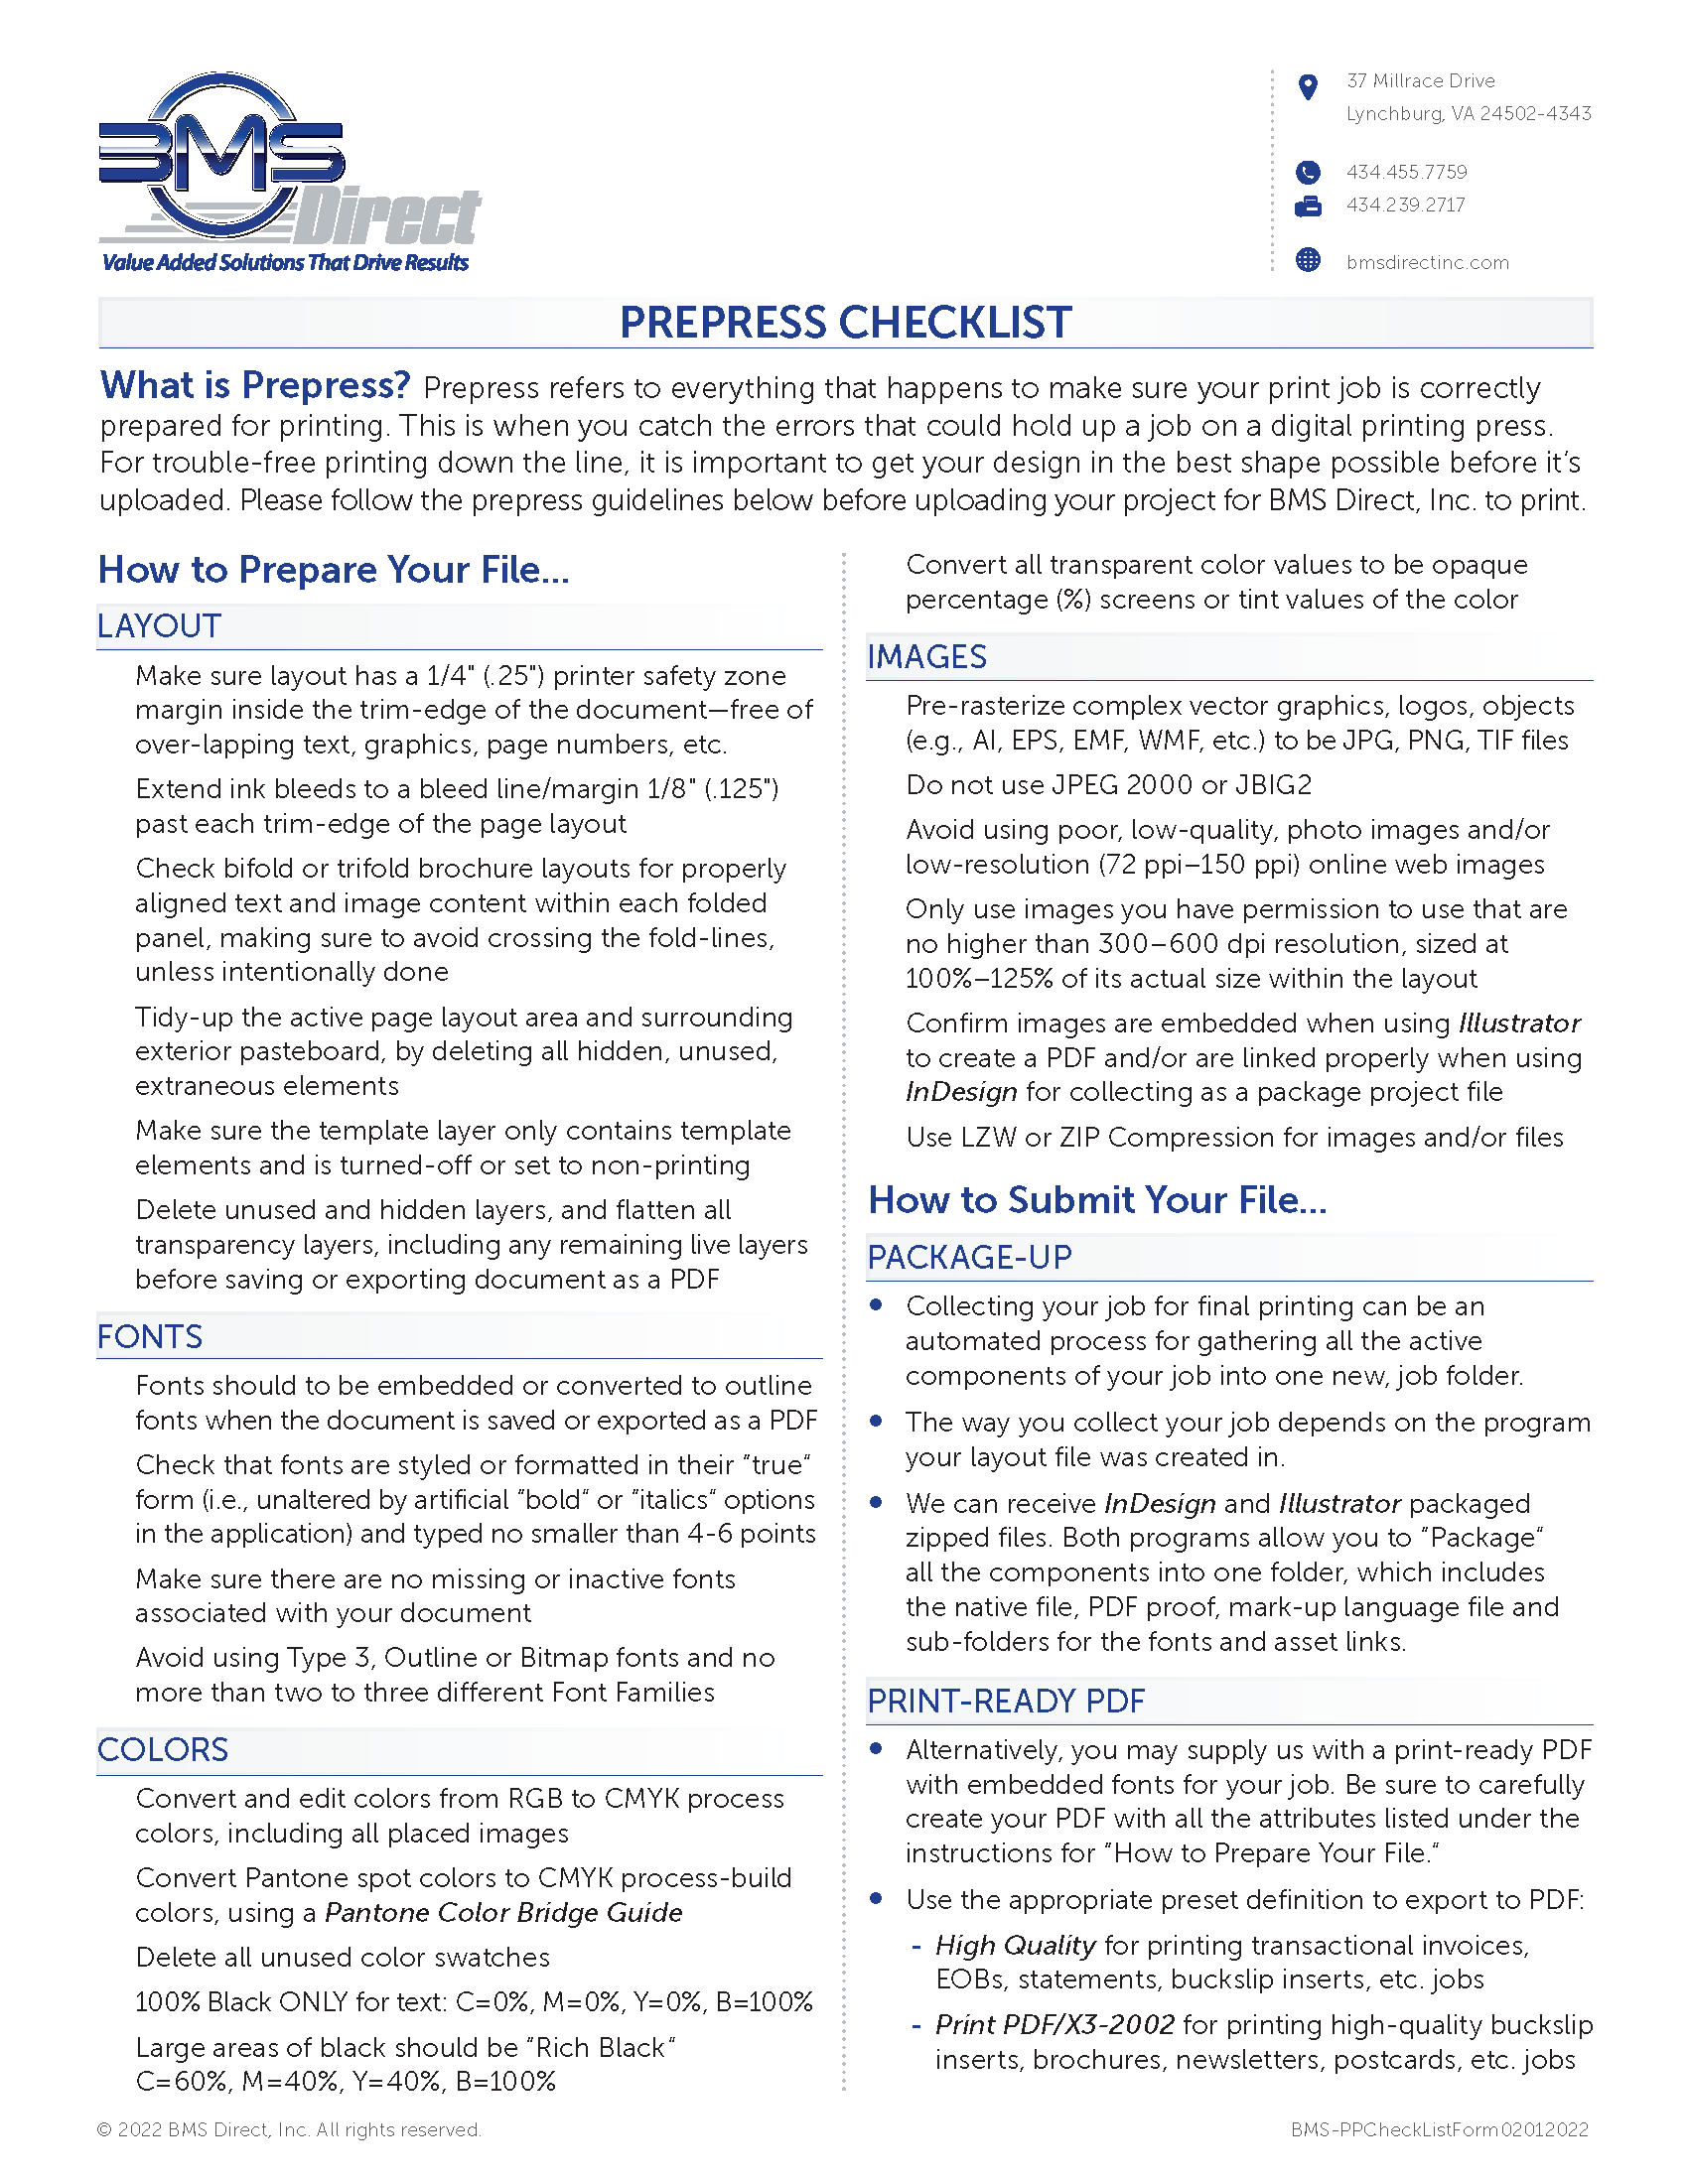
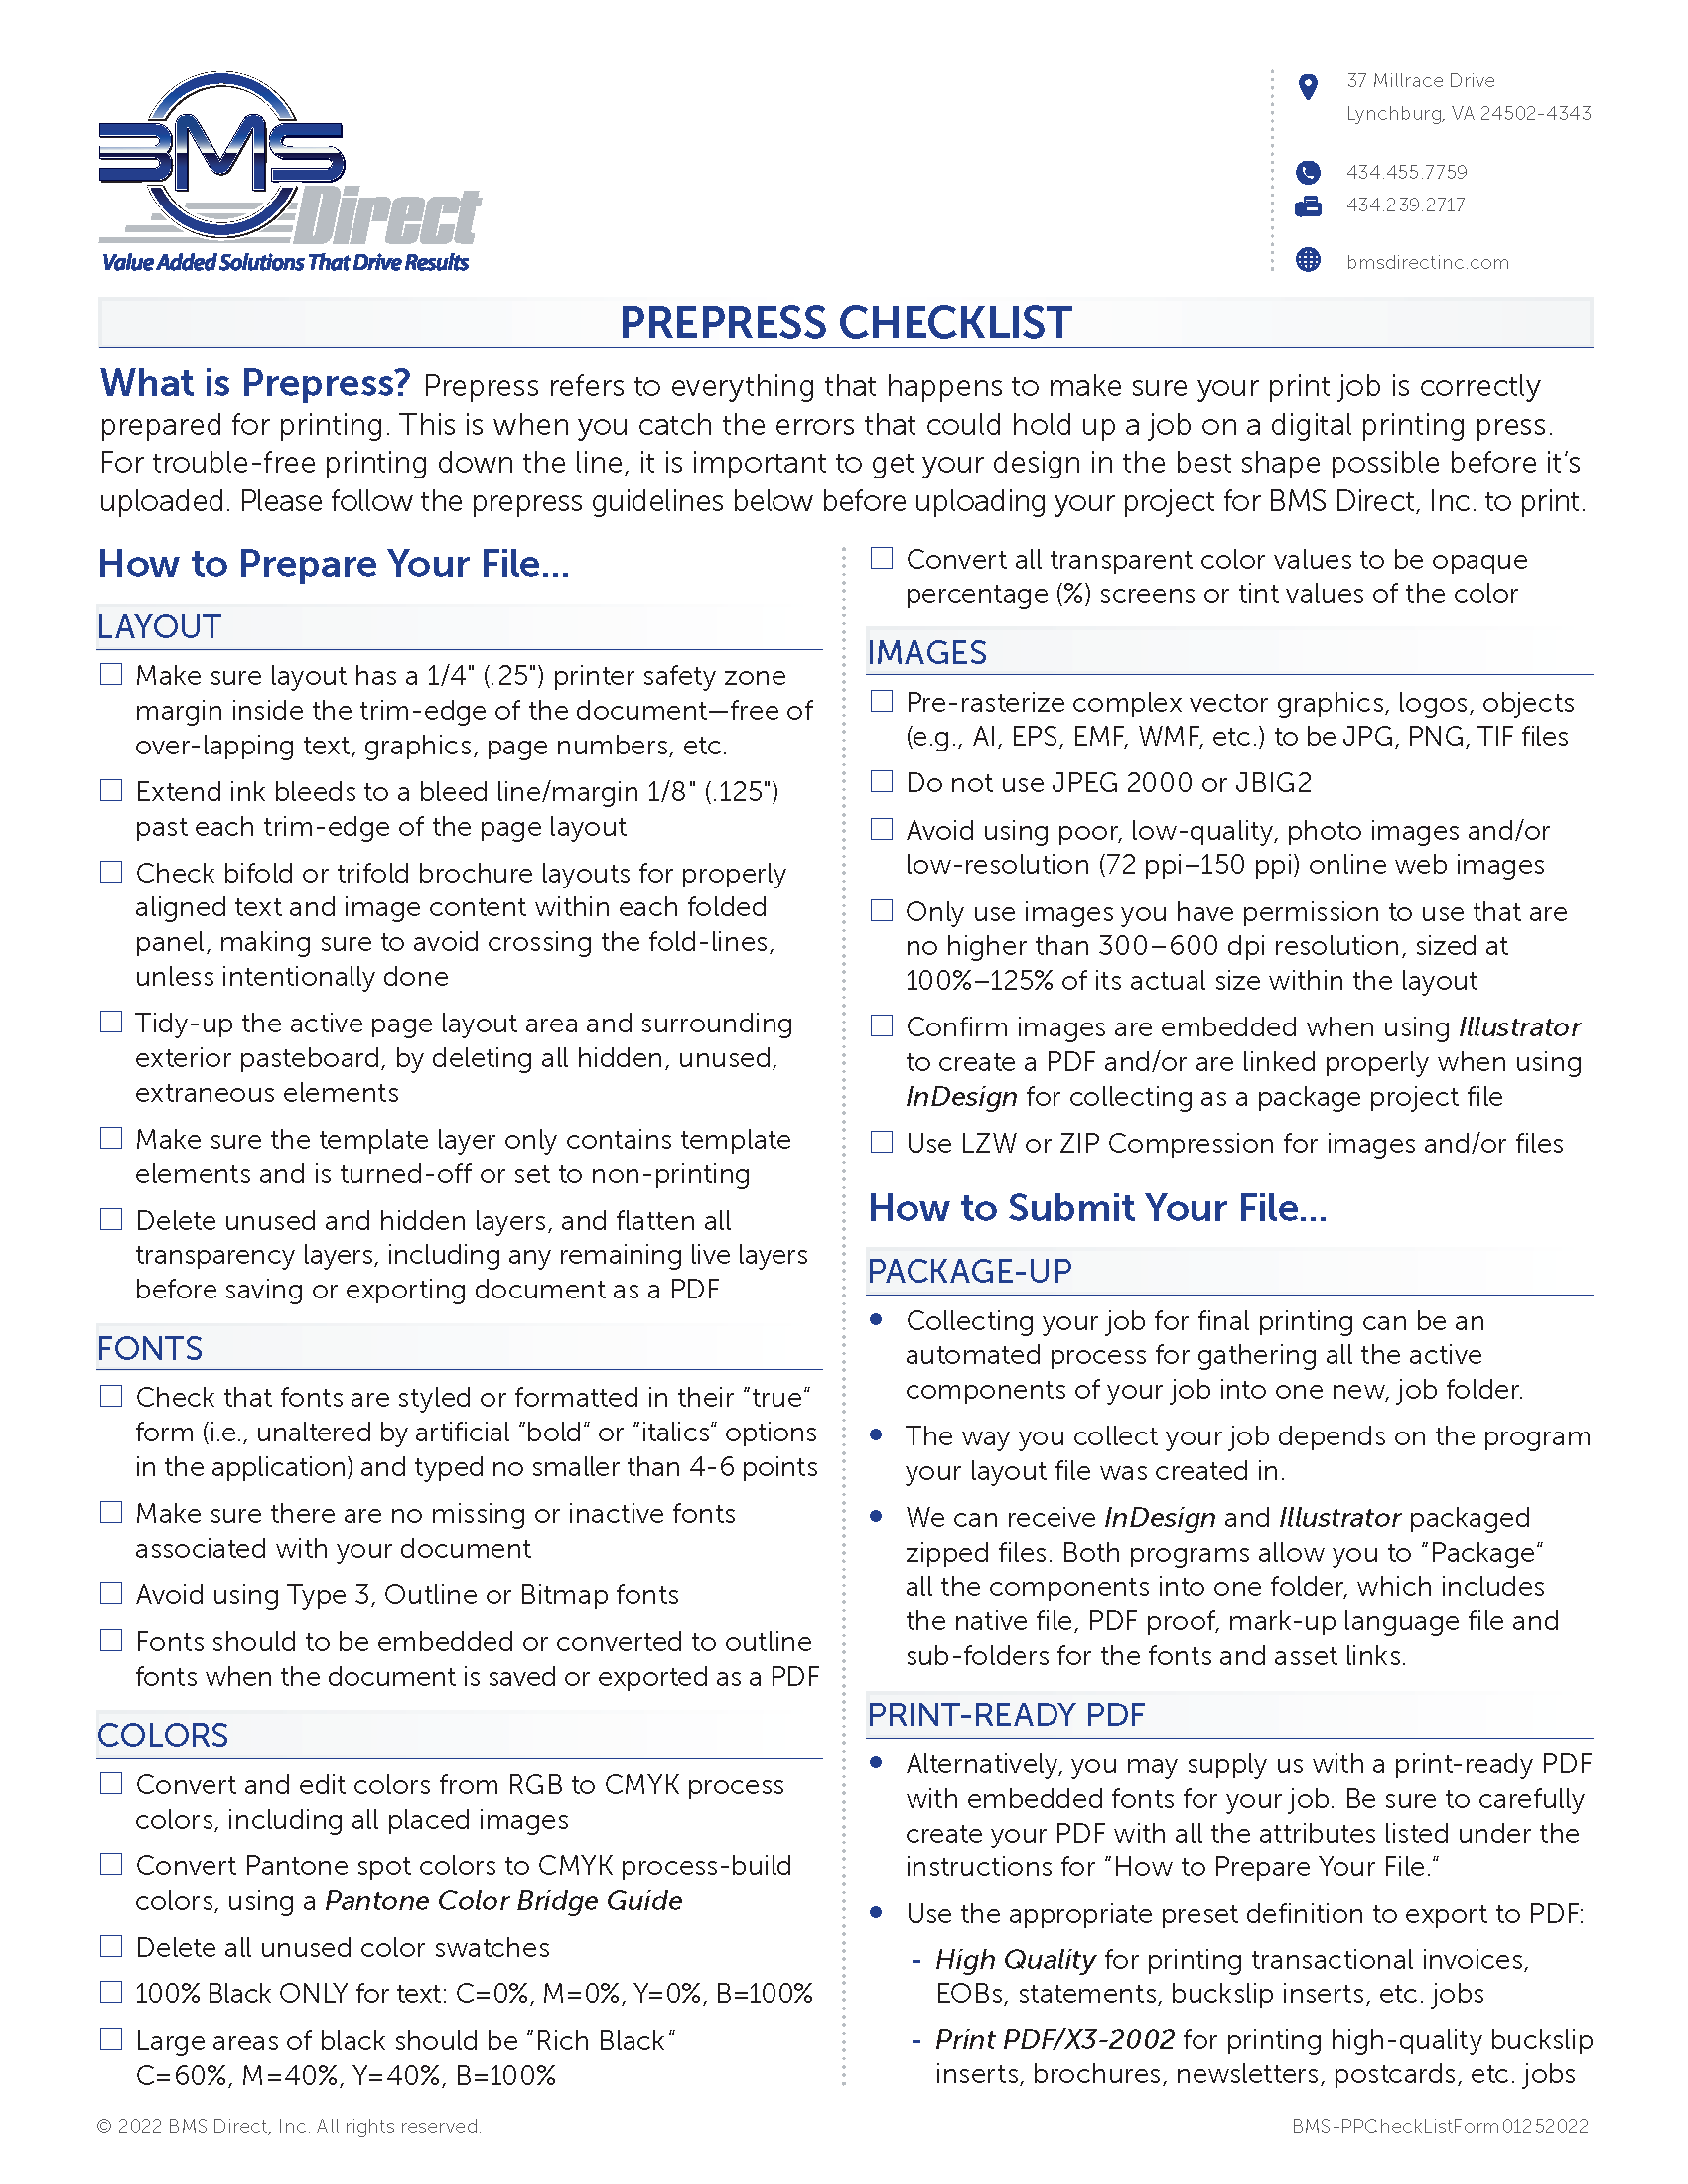
How to prepare Your File...
The Simple Steps to Create Print-Ready Artwork
For those experienced in the printing process and different methods, but need a quick reminder on the steps.
We recommend going over these specifications with your print provider early on to avoid future issues.
- Choose a file format. PDF usually works best.
- Add a bleed area. Most printing requires a 2mm to 4mm bleed area. This is only required for bleed-to-edge artwork - you can specify this with your print provider.
- Embed all fonts or converted to vector paths.
- Save your artwork as a single-layered image using a CMYK color model.
Simple, right? And now for a little more detail - if you need it.
Choose a File Format
The first thing to consider when preparing artwork for print is which file format to save it in. This depends on the software you're using. We recommend using image publishing software and/or vector drawing software such as Adobe Illustrator or InDesign.
Essentially, it would help if you had software to export images to either the CMYK.
While it's possible to use image-editing software such as Photoshop to export your final image, we wouldn't recommend it. These programs create raster images as a bitmap, whereas you want an image created as a vector model.
Vector models use geometric shapes rather than pixels to generate an image. The image will retain clarity, especially when blown up to larger sizes.
If you use Photoshop, import the finished image into a vector-capable program such as Adobe Illustrator or InDesign. Remember, vectors don't work for everything.
Vector and raster recommendations:
| Vector | Raster |
| Logos | Photos |
| Illustrations | Paintings |
| Text | Textures |
Prepress Checklist:
- LAYOUT
- FONTS
- COLORS
- IMAGES
File Submission:
- PACKAGE-UP
- PRINT-READY PDF
Digital for BMS = CMYK
This is pretty simple. You can choose between the CMYK or RGB color model whenever you save the artwork.
Although image publishing software gives you a choice, it implies that the image is intended for two types of use - printing or digital publication.
The printing process uses CMYK (cyan, magenta, yellow and black). CMYK is a subtractive color model. This adds pigment or dye to a page to subtract white from an image.
Remember, when you look at a color on a screen, it's not accurately represented as the hue when printed. Instead, you're seeing a mixture of the primary colors created by light. Printed colors are different in that you see reflected light, subtracting what is absorbed by the print.
Image Resolution
This is probably the most critical part of preparing artwork for printing.
First of all, if your image is solely comprised of vector graphics, then a resolution isn't an issue. You can scale an image created purely as a vector file to any size without loss of resolution. However, most images will still contain at least some raster elements.
A Quick Guide to Image Resolution
Resolution is measured in DPI (Dots Per Inch). DPI is the number of dots or pixels that would fit into an inch if the image were printed unscaled. 'Number of dots' is a little vague, so think of DPI as pixel density.
A 100DPI image would have a pixel density of 10,000 pixels. A 300DPI image has a density of 90,000 pixels, which means it has a much higher resolution. Realistically, you want a higher DPI for your image - 300 or higher.
When preparing artwork for print, we recommend having at least 300 DPI for your image. This means the naked eye won't see the individual pixels at a close distance. It's considered photographic quality.
Bleeds and Trim Boxes
A bleed is the image area that's extended beyond the final trimmed product. It's pretty much just a way to reduce misprints and provide a margin for error.
Cutting machines will trim the printed image to your specifications in the printing process. If you haven't left a bleed, the cutting machines will trim 0.5mm past the edge of your graphic. If you haven't extended the image beyond a bleed area, this cutting will leave a noticeable white line and look unprofessional.
We recommend a bleed area of 3mm. Add this amount to each side of your image.
Our Other Service Offerings
Direct Mail
Data Services
37 Millrace Drive
Lynchburg, VA 24502-4343
(866) 816-2378